How to install Viber on Windows 7

If you seek for the comfortable, adaptive and easy-to-use mobile messenger, pay attention to Viber. This VoIP-tool contains much innovative technologies which provide steady and seamless workflow. Viber is compatible with all known operational systems. Even if you have smartphone based on Symbian or Windows Mobile, you will still be able to use this tool on your device. Important warning: in order to set up Viber on Windows, you will need before that install Viber on the mobile gadget (phone or tablet). In this way app is attached to the mobile number, and PC-version will synchronize with its mobile analogue afterwards. So make sure that you have mobile gadget with Viber installed on it before installing messenger on Windows 7.
In this instruction I will tell how to set up Viber on Windows 7 and what steps you will need to walkthrough during the installation routine. Here we go:
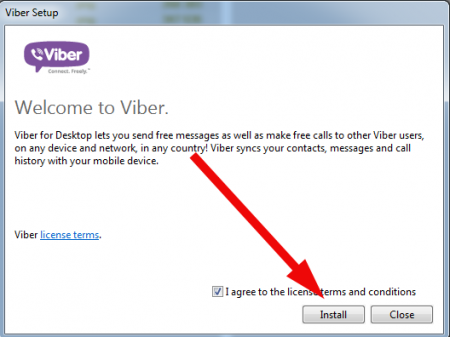
- first run an installation routine by double click on the executive file
- the procedure welcomes you with the license approval form. Set the appropriate checkbox and go on
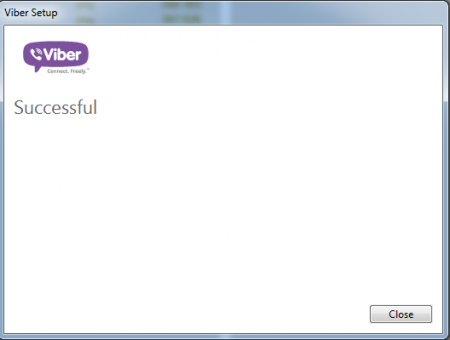
- after a minute or so the installation will be completed, the appropriate system files will be copied to the appropriate Windows folders and you will see a notification with successful operation processing proof. Click the Close button and let’s switch to the setting up and registration process
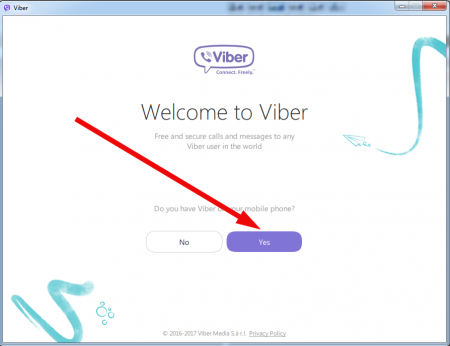
- soon the form appears, which asks you whether you have mobile device with Viber installed on it. Let’s suggest that you do, and continue with the procedure
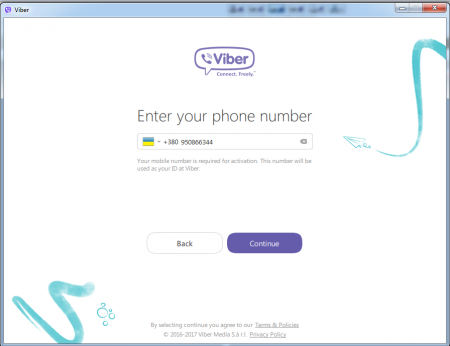
- on the next step you will have to type your phone number, which you want Viber to be registered for. This number should be correct and valid, so make sure once again, that you haven’t made mistakes while typing. The country code is identified automatically, but you may modify it
- when the mobile number is added, we will have to confirm that you mentioned your personal number. On this purpose the mechanism of confirming the mobile gadget by QR-code is implemented. Take your mobile device in hands and scan the QR-code with the opened utility right from the PC-screen. In this way the confirmation will be completed
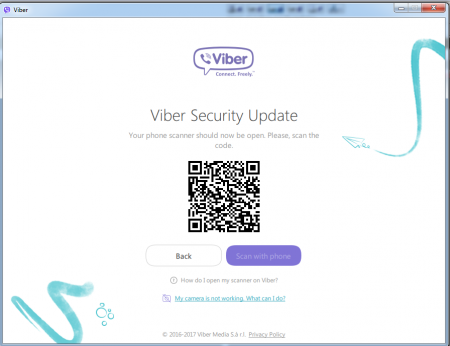
- if the previous operation occurred successfully, and QR-code scanning performed correctly, on the further iteration the form appears, which is telling you, that the registration completed successfully and you are free to use Viber on the PC.
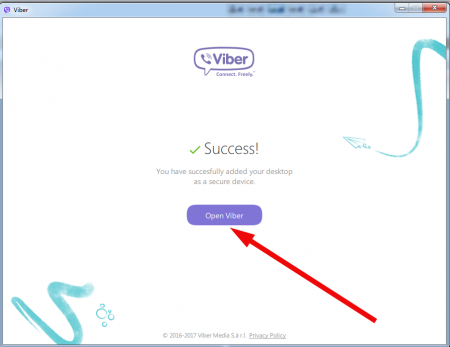
As you may notice, the instruction how to install Viber on Windows 7 is quite straightforward and intuitive, so you won’t tackle with any difficulties during this routine. Thanks to the qualitative synchronization mechanism, each time you log in to the PC-version of messenger, you will immediately see all the actual contacts and messages from your mobile account. Thus, you will be online even if the phone battery off, and you are working by the PC at the moment.